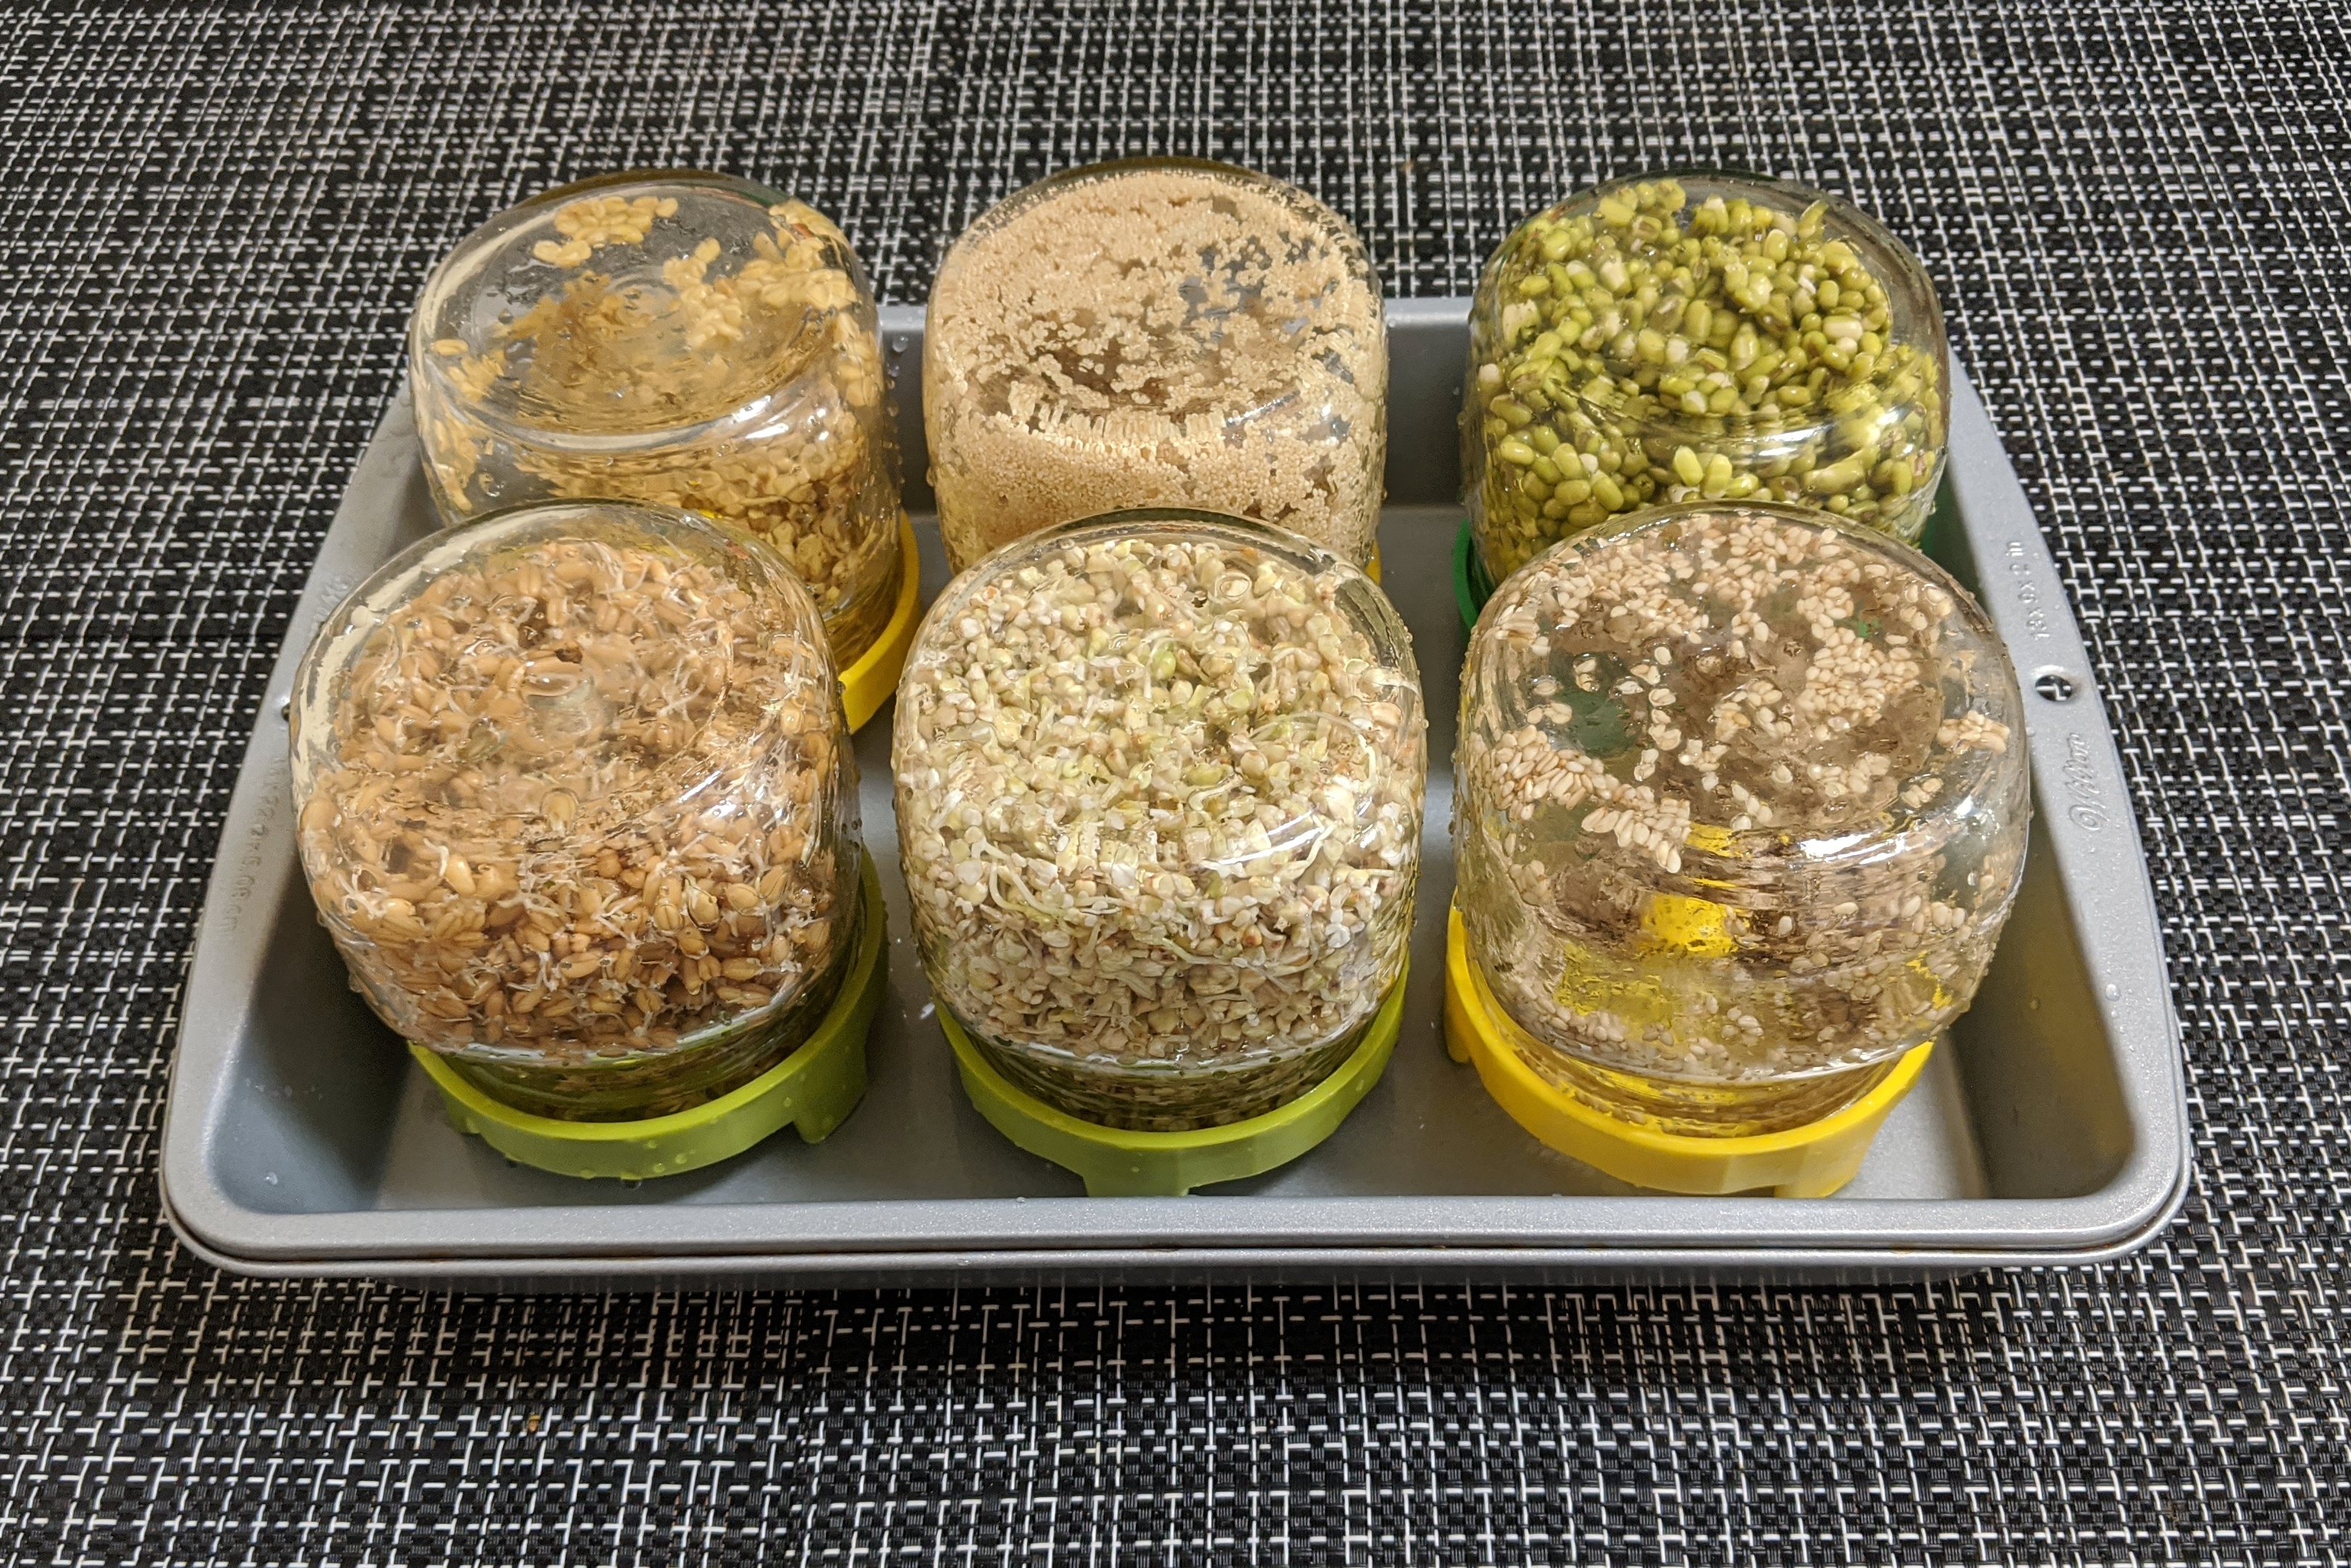
Sprouting with plastic lids: Much better than sprouting with metallic lids — metallic lids became rusty after a few months of usage.
Mason jars: commonly found in grocery stores like Target and Walmart for $2-$3 per jar. I use 16-oz Mason jars.
Sprouting Lids: Plastic sprouting lids (Amazon) — these don't rust and are easy to clean. Prior to plastic lids, I experimented with metallic sprouting lids ($12 for 6 lids) — these becames rusty in a few months.
Cake Pan: This 13" Cake Pan ($11.49 for a pair in August 2020) has deep, 2-inch sides. It comes in packs of 2; I use both.
Cleaning: A good hard brush for cleaning the sprouting lids every day.
The Jar Method is my favorite sprouting technique:
- Grow Sprouts using the Jar Method (cached copy if the main website is down) has a great explanation of all the steps!
- Sprouting 101 is insightful. For example, I learnt that grains and seeds which are imported from other countries are often irradiated, so they're unlikely to sprout.
(The Jar Method)
This 90-second video played an important role in my life: after watching it, I got inspired to start sprouting! :-)
The 90-second How To Sprout Anything video convinced me that the whole process is very simple! But how did I get started? What did I need to buy?
A) Mason Jars: The jars in the video are called 'Mason Jars' or 'Canning Jars' — 32oz jars are available for $2-$3 in many stores like Target and Walmart. For a single person, 16-oz Mason jars (pint-sized) should suffice. For a family, we may need 32oz jars.
Sprouting large-sized grains and beans is easy. We don't really need any special jars or sprouting lids. We may use any container. Why? After rinsing, even if water doesn't drain completely, the large-sized grains and beans that remain at the bottom of a container don't submerge under water; so they don't rot. For small-sized grains, beans and seeds, it helps to have Mason jars. Why?
- Keeping Jars Upside Down and Tilted: Helps water drains out completely — this is important for pseudo-grains (buckwheat, amaranth, quinoa) and seeds (fenugreek, sesame, broccoli, …), all of which are smaller-sized when compared to large-sized grains (wheatberry, kamut, …) and beans (lentils, mung beans, garbanzo, …).
For keeping Mason jars upside down, sprouting lids (discussed below) are helpful.
- Convenience in Rinsing: We have to rinse every 12 hours. This could become quite a chore. With sprouting lids, rinsing becomes so simple!
A FaceBook friend told me that cheesecloth becomes moldy and has to be washed repeatedly; it cannot be reused too many times. So I searched for alternatives and discovered 'sprouting lids' made of stainless steel mesh and plastic.
Which sproutng lid is better: metal or plastic? First, I tried metallic sprouting lids (Amazon) but these became rusty after a few months. So I moved to plastic sprouting lids (Amazon) — these don't rust and are easy to clean.
Note that such sprouting lids are designed for 'Wide Mouth' Mason jars, so make sure that the Mason jars you buy are 'Wide Mouth'.
Sprouting lids can also be made at home. See DIY Sprouting Lids. For example, we can purchase a needlepoint plastic mesh and cut it into circular shapes using scissors at home. How to Make a DIY Sprouting Jar Lid for Under 10 Cents (YouTube video, 4 mins).
C) Sprouting Stands? When we keep mason jars with sprouting lids upside down and tilted, water trickles out. Where will this water collect? We could use a tray or a baking pan, as shown in the pic at the top of this article. Instead of tray or baking pans, some people buy Sprouting Stand Set. Each stand has a small inbuilt container for holding the water that drips from an upside down Mason jar.
For the first round of sprouting, I bought four samplers from SproutPeople, namely the Leafy Sprout Sampler, Grain Sprout Sampler, Brassica Sprout Sampler and Amber Waves of Grain Sprout Mix.
I also had some organic lentils and beans at home: mung beans, garbanzo beans and black gram ('kala chana'), for example.
Amazon also has some sprouting sampler mixes like The Sprout House Assorted Organic Sprouting Seeds Mixes Sample (Pack of 12).
After my initial experiments are successful, one could purchase Handy Pantry 12 Lb Sprouting Seed Assortment which has 1 lb each of 12 different organic sprout seeds — Alfalfa, Radish, Clover, Lentil, Mung Bean, Garbanzo Beans, Green Pea, Bean Salad Mix, Protein Powerhouse Mix, Crunchy Lentil Mix, 3 Part Salad Mix & 5 Part Salad Mix.

 Instagram
 YouTube